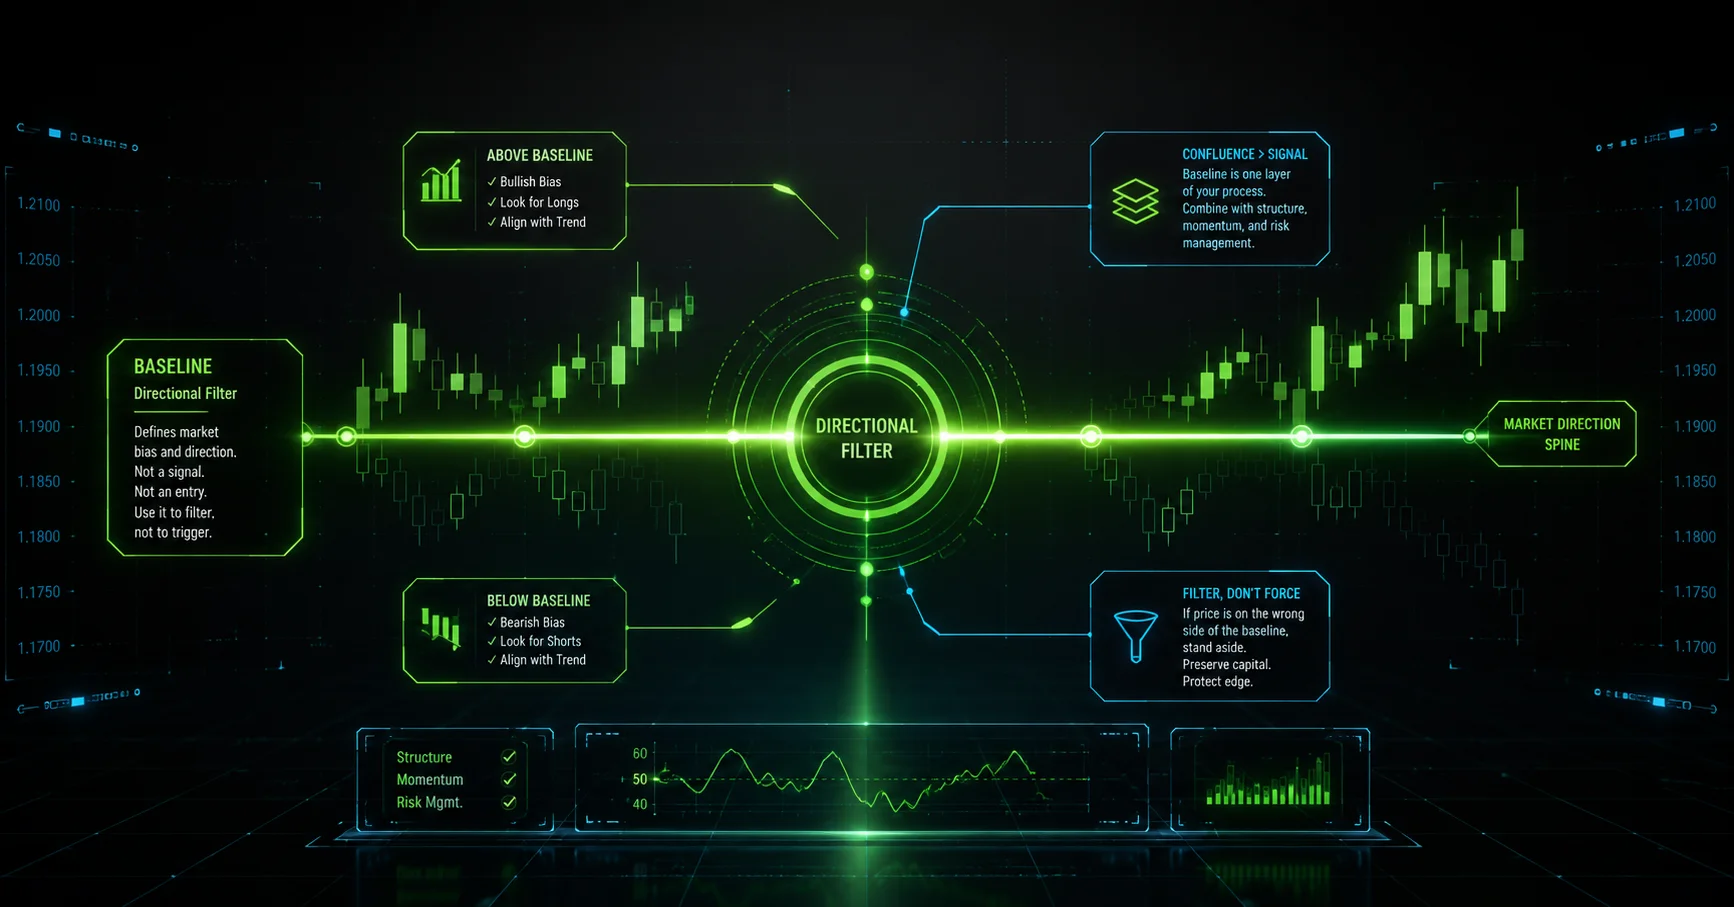

The baseline in the NNFX method is usually a moving-average-style indicator used to define the general direction of the market. It helps traders decide whether price is broadly moving upward, downward, or sitting in a messy area where direction is unclear.
In simple terms, the baseline acts like a “market direction line.”
When price is above the baseline, the market may be considered bullish under that system’s rules. When price is below the baseline, the market may be considered bearish. That does not mean a trade should automatically be taken. It only means the baseline is giving directional context.
That distinction matters. Beginners often look at a chart and want one indicator to tell them exactly what to do. The NNFX approach is more structured than that. The baseline is one part of the process, not the entire decision.
Why the Baseline Matters in Rule-Based Forex Trading
Rule-based forex trading depends on consistency. Without rules, traders often jump from one idea to another, changing their logic whenever the chart looks uncomfortable.
The baseline helps reduce that randomness by answering a basic question:
“Which direction is this system allowed to consider?”
That may sound simple, but it is important. A trader using a baseline is not just reacting to candles, news, or social media opinions. They are using a predefined filter.
This can help with:
- Defining market direction
- Avoiding trades that go against the system’s structure
- Creating repeatable testing conditions
- Separating trend logic from entry confirmation
Forex trading is risky, and even structured systems can produce unfavorable outcomes. That is why neutral risk education, such as the CFTC’s advisory on researching forex dealers and understanding forex risks, is worth reading before engaging with live markets.
The Baseline as a Trend Filter, Not a Magic Signal
The baseline is not magic. It is not a prediction tool. It does not know what will happen next.
A better way to understand it is as a trend filter.
A trend filter does not say, “Enter now.” It says, “This is the general direction your system is paying attention to.” That is a very different job.
For example, if price is above the baseline, a rule-based system may only consider long setups. If price is below the baseline, the system may only consider short setups. But the actual decision still depends on other parts of the system.
This prevents the baseline from being treated like a shortcut. And shortcuts are where many beginner traders get into trouble.
How NNFX Traders Use the Baseline to Confirm Market Direction
In the NNFX framework, the baseline often works alongside confirmation indicators, a volume or volatility filter, exit logic, and risk rules.
The baseline may help confirm that price is aligned with the broader direction of the system. But it should not be used alone.
For example, a trader might look for:
- Price on the correct side of the baseline
- Confirmation indicators agreeing with direction
- A volume or volatility condition being acceptable
- Exit rules already defined before entry
The baseline gives context. The confirmations help decide whether the setup has enough agreement. The exit logic defines how the trade is managed after entry.
That separation is useful because each tool has a specific role.
Baseline Crosses vs Baseline Continuation Setups
There are two common ways traders think about baseline behavior: crosses and continuation setups.
A baseline cross happens when price moves from one side of the baseline to the other. This may suggest that the market direction has changed according to the system’s rules.
A baseline continuation setup happens when price is already on the preferred side of the baseline and continues moving in that direction after a pullback or pause.
Neither setup is automatically better. A cross may catch a directional shift earlier, but it can also happen during choppy market conditions. A continuation setup may look cleaner, but it can appear after a move is already developed.
This is why testing matters. The chart may make one version look obvious after the fact. Data often tells a more complicated story.
Why Price Location Around the Baseline Is Important
Price location matters because the baseline is not just a line. It is a reference point.
When price is far from the baseline, the move may already be extended. When price is sitting directly around the baseline, the market may be undecided. When price crosses repeatedly back and forth, the market may be too choppy for that baseline setting.
Beginners often focus only on whether price is above or below the line. More experienced system builders also care about the quality of that location.
A clean relationship between price and baseline can make rules easier to test. A messy relationship can create confusion, especially if the baseline is too sensitive.
Common Indicators Used as an NNFX Baseline HMA, EMA, T3.
Several moving-average-style indicators are commonly explored as baseline candidates. These include the HMA, EMA, and T3.
The HMA, or Hull Moving Average, is often known for reacting more quickly than many traditional moving averages.
The EMA, or Exponential Moving Average, gives more weight to recent price data, which can make it more responsive than a simple moving average.
The T3 is a smoother moving average variation that some traders test because it may reduce noise compared with faster-moving lines.
None of these is automatically “the best.” A baseline indicator should be judged by how it performs inside a complete system, not by how attractive it looks on a chart.
What Makes a Good Baseline Indicator?
A good baseline indicator should be clear, testable, and compatible with the rest of the system.
It should not change its logic depending on the trader’s mood. It should also avoid being so sensitive that it reacts to every small price movement.
A useful baseline usually has a balance between responsiveness and smoothness. If it reacts too quickly, it may create too many false directional changes. If it reacts too slowly, it may confirm direction late.
The goal is not to find a perfect line. The goal is to find a baseline that supports consistent rules across different market conditions.
The Problem With Choosing a Baseline Manually
Choosing a baseline manually can be misleading.
A trader may scroll through charts and pick the indicator that looks best on recent examples. This is dangerous because the human eye is very good at finding patterns after the fact.
The problem is not that manual chart review is useless. It can help with understanding behavior. But it should not be the only method used to choose a baseline.
Without testing, a trader may simply choose the line that looks cleanest on a few memorable charts. That is not the same as knowing whether it works across many pairs, years, and market conditions.
Why One Baseline Should work on the average of all pairs.
In the NNFX style of system building, a baseline should not be selected because it performs nicely on one favorite pair.
Forex pairs behave differently. Some trend more cleanly. Some move sideways more often. Some react differently to volatility.
Because of this, a baseline should be tested across the average of all pairs being considered. The goal is not to create a separate perfect baseline for every chart. That can lead to curve-fitting, where the settings are shaped too closely around past data.
A stronger approach is to find a baseline that behaves reasonably across a broad group of pairs.
That does not make the system perfect. It simply makes the research process more disciplined.
How Backtesting Helps Identify Stronger Baseline Settings
Backtesting helps traders compare baseline settings using historical data instead of visual opinion.
A trader can test different baseline types, lengths, and rules to see how they behave over time. This may reveal that a baseline that looks good visually does not hold up well across broader testing.
Backtesting can help answer questions such as:
- Does the baseline create too many direction changes?
- Does it behave consistently across multiple pairs?
- Does it work better with certain confirmation logic?
- Does it remain useful during different market conditions?
Backtesting does not predict the future. It only helps traders study how rules behaved in the past. That is still useful because it replaces guesswork with structured research.
The Role of the Baseline Inside a Complete NNFX System
The baseline is important, but it is not the whole strategy.
A complete NNFX-style system usually includes several components working together. The baseline defines direction. Confirmation indicators help validate the setup. A volume or volatility filter helps avoid weak conditions. Exit logic defines when the setup is no longer valid.
Each part has a job.
When traders expect the baseline to do everything, they usually misunderstand the framework. A baseline cannot confirm momentum, measure volatility, manage exits, and define risk all by itself.
It is the foundation, not the building.
Why the Baseline Should Be Tested With Confirmations, Volume, and Exit Logic
Testing a baseline by itself can be misleading because a baseline is not meant to operate alone.
A baseline may look weak on its own but work better when paired with strong confirmations and clear exit rules. The opposite can also happen. A baseline may look impressive in isolation but fail to add value once other system components are included.
That is why baseline testing should eventually include:
- Confirmation logic
- Volume or volatility logic
- Exit rules
- Pair-wide testing
- Clear entry and exclusion conditions
The more realistic the test, the more useful the information becomes.
How an NNFX Testing EA Can Speed Up Baseline Research
An NNFX testing EA can speed up baseline research by automating repetitive testing steps.
Instead of manually checking hundreds of charts, traders can use testing software to compare indicator settings more efficiently. This can help identify which baselines deserve deeper review and which ones can be removed from consideration.
This does not mean automation replaces judgment. It simply helps with data collection.
A testing EA can be useful for:
- Comparing baseline settings
- Testing across multiple pairs
- Reducing manual chart bias
- Reviewing larger sample sizes
- Studying how baseline logic interacts with other rules
The key is to use automation as a research tool, not as a promise machine.
Avoiding the Mistake of Over-Optimizing the Baseline
Over-optimization happens when traders adjust settings too precisely around historical data.
For example, a trader may test dozens of baseline settings until one looks unusually strong in the past. The danger is that the setting may be fitted to old market behavior rather than being broadly useful.
A baseline should be robust, not fragile.
If a small setting change completely changes the results, that may be a warning sign. Stronger baseline research usually looks for stability across pairs, time periods, and related settings.
The aim is not to squeeze the past until it says what the trader wants to hear. The aim is to find rules that make sense and can be tested honestly.
Key Takeaway: The Baseline Is the Foundation, but Not the Whole Strategy
The baseline in the NNFX method helps define market direction, but it should never be treated as a complete trading system by itself.
It is a filter. It gives structure. It helps traders avoid random decision-making. But it still needs confirmations, volume or volatility logic, exit rules, and careful testing.
For beginners, the main lesson is simple: do not search for a magical baseline. Search for a clear, testable process.
That is where real structure begins.