

What Is an NNFX Trading System?
An NNFX trading system is a structured approach to technical trading based on the framework popularized by VP from No Nonsense Forex. Credit should go to VP for introducing many retail traders to the idea that a complete trading system should not depend on one indicator, one signal, or one “magic” setup.
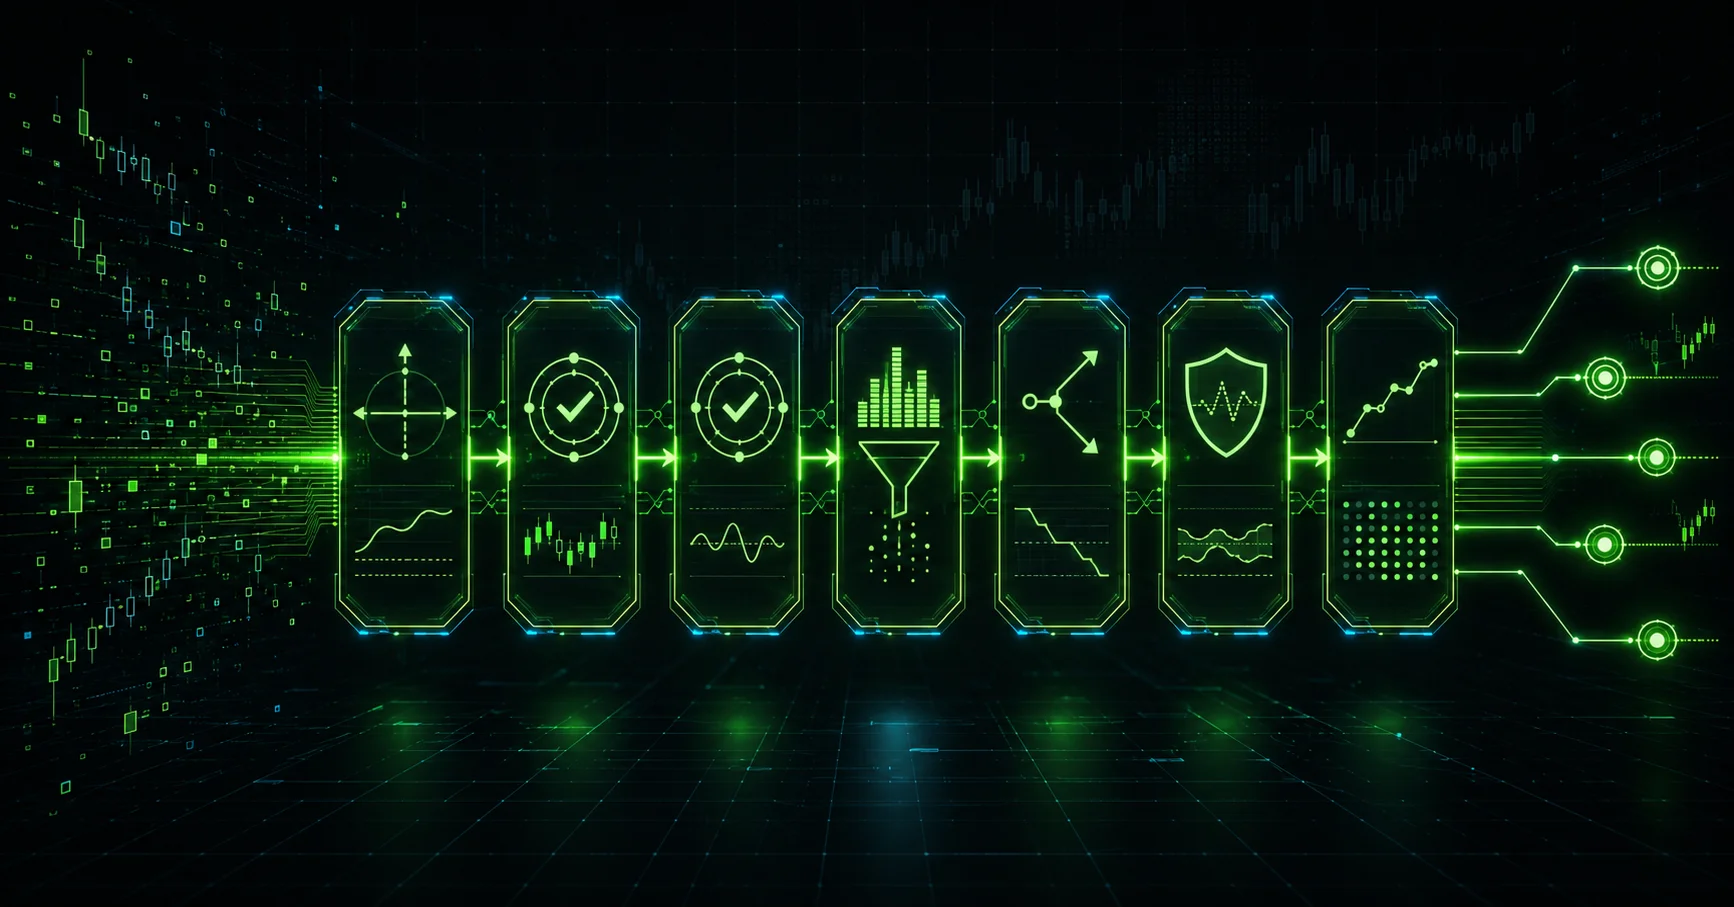
At its core, the NNFX approach is built around combining several independent components:
- A baseline
- Confirmation indicators
- A volume filter
- An exit indicator
- ATR-based risk management
- Clear entry and exit rules
- Backtesting before live use
The main idea is simple: no single indicator should carry the entire decision-making process. Instead, each component has a specific job. The system only becomes meaningful when those jobs work together in a consistent, testable way.
This matters because many beginners start by asking, “What is the best indicator?” NNFX pushes traders toward a better question: “How do multiple components work together to filter lower-quality setups?”
That shift is important.
*If some of the trading vocabulary feels unfamiliar, you can start with my complete free course, Essentials of Trading course, which explains the foundations step by step before moving into trading systems like NNFX.
Why NNFX Uses Multiple Components Instead of One Indicator
A one-indicator system can look attractive because it feels simple. One arrow appears, one line crosses another, and the decision seems obvious. The problem is that markets are rarely that clean.
NNFX uses multiple components because the goal is not to take every possible setup. The goal is to narrow attention toward the strongest-looking setups according to the trader’s tested rules.
Each component acts like a filter.
One tool may help define direction. Another may confirm momentum. Another may check whether enough market activity exists. Another may warn that the original idea is weakening.
This does not mean the system becomes perfect. It simply means the trader is not relying on one piece of information to do five different jobs.
A complete NNFX structure helps answer questions like:
- Is price aligned with the broader direction?
- Is there fresh confirmation?
- Is the market showing enough activity?
- Is the setup still valid?
- Are risk levels standardized?
The value is not in making trading complicated. The value is in making the decision process more specific.
The Baseline: Defining the Main Market Direction
The baseline is usually the first major structural component in an NNFX-style system.
Its job is to help define the main market direction. In simple terms, the baseline gives context. It helps the trader decide whether price is generally positioned in a way that supports long-side or short-side ideas.
A baseline is often a moving average or another trend-based tool, but the exact indicator is less important than the role it plays. The baseline should not be treated as a complete trading system by itself.
It is there to answer one main question:
Is price aligned with the broader direction required by the system rules?
When beginners skip this step, they often end up taking signals in random conditions. A confirmation indicator may flash a signal, but without directional context, that signal may not mean much.
The baseline helps reduce that randomness.
Confirmation Indicators: Finding Stronger Trade Setups
Confirmation indicators are where many NNFX traders spend the most time researching and testing.
In a typical NNFX structure, there are usually two confirmation indicators:
C1: The New Setup Signal
C1 is the primary confirmation indicator. Its role is to identify a new setup.
This is often the component that tells the trader, “There may be something worth checking here.” But C1 should not be treated as a standalone entry tool. It still needs support from the rest of the system.
A C1 signal is only meaningful when it fits the broader rules.
C2: The Slower Momentum Filter
C2 is usually slower than C1. Its purpose is not necessarily to find the earliest signal. Instead, it helps confirm that momentum or directional pressure is still supportive.
This distinction matters.
C1 may identify the possible beginning of a setup. C2 helps filter out situations where the move may not have enough broader support.
Together, C1 and C2 create a more selective process than using one confirmation indicator alone.
The Volume Filter: Avoiding Weak or Low-Quality Signals
The volume filter is used to seek signs of market activity.
In forex, volume is not as centralized as it is in some other markets, so many traders use volume-style indicators as proxies for activity, participation, or movement quality. The goal is not to magically see every transaction in the market. The goal is to avoid signals that appear during weak, flat, or low-quality conditions.
A setup can look good on direction and confirmation but still lack activity.
That is where the volume filter comes in.
It asks:
Is there enough activity behind this setup to make it worth considering under the system rules?
This filter can help prevent a system from taking every technically valid signal in lifeless market conditions.
The Exit Indicator: Knowing When the Setup Is No Longer Valid
The exit indicator has one of the most misunderstood roles in NNFX-style trading.
It is not there to predict the future. It is there to help identify when the original setup may no longer be valid.
In many NNFX systems, the exit indicator is designed to provide an early exit when the signal reverses or when the condition that supported the trade idea begins to weaken.
This is important because not every setup will reach a fixed target. Some setups lose their structure earlier. A dedicated exit indicator gives the trader a rule-based way to respond when that happens.
Without an exit indicator, traders may improvise. Improvisation can make backtesting unreliable because the rules are no longer consistent.
ATR-Based Risk Management: Standardizing Stop Loss and Take Profit
ATR stands for Average True Range. It is a volatility indicator developed by J. Welles Wilder Jr. and is commonly used to measure how much price tends to move over a selected period. For a neutral reference, you can read more about Average True Range on Wikipedia.
In an NNFX-style system, ATR is often used to standardize stop loss and take profit distances.
This is useful because different currency pairs move differently. A fixed pip distance may be too wide for one pair and too narrow for another. ATR helps adjust risk levels based on current volatility rather than using the same static number everywhere.
The point is not to guarantee a better outcome. The point is consistency.
ATR-based risk management helps create rules that can be tested across instruments and market conditions with less guesswork.
The One-Candle Rule and Seven-Candle Rule
The one-candle rule and seven-candle rule are part of the NNFX framework’s effort to keep setups timely.
The one-candle rule generally means that a signal should be acted on within a defined window rather than long after it appears. A signal that looked valid several candles ago may no longer represent the same market condition.
The seven-candle rule is often used to limit how far price can move after crossing or interacting with the baseline before a setup becomes too late under the system rules.
The purpose of these rules is to avoid chasing.
Beginners often see a move after it has already developed and feel tempted to jump in because the chart looks obvious. These rules help create boundaries around timing so the system remains testable.
How the Components Work Together as a Trading System
The power of an NNFX trading system is not found in one individual component. It comes from the sequence.
A simplified version of the process looks like this:
- The baseline defines the main directional context.
- C1 identifies a fresh setup.
- C2 checks slower momentum support.
- The volume filter looks for acceptable activity.
- ATR standardizes stop loss and take profit distances.
- The exit indicator defines when the setup may no longer be valid.
- Timing rules prevent late entries.
Each component has a job. When one component tries to do everything, the system becomes fragile.
A good system is not just a pile of indicators. It is a set of rules that explains why each tool is there, what it measures, and when it matters.
Why Every Component Needs to Be Backtested Separately
One of the biggest mistakes beginners make is testing an entire system all at once without understanding which component is helping or hurting.
Every component should be backtested separately because each one plays a different role.
For example, a trader may find that a confirmation indicator looks strong at first, but the volume filter removes many weak setups. Or the baseline may look useful on one pair but less useful on another. Or an exit indicator may cut some setups early while preserving structure in others.
Separate testing helps answer better questions:
- Does this baseline provide useful directional context?
- Does C1 identify setups clearly?
- Does C2 filter without becoming too restrictive?
- Does the volume filter remove low-quality conditions?
- Does the exit indicator respond logically when signals reverse?
Testing everything together too early can hide problems.
Manual NNFX Testing vs EA-Assisted Testing
Manual testing has value because it forces traders to understand the logic behind each component. It builds familiarity with the chart, the rules, and the sequence of decisions.
But manual testing also has limits.
It can be slow. It can be inconsistent. It can become tiring. And when the same rules are repeated hundreds or thousands of times, small human errors can creep in.
EA-assisted testing can help by applying the same rules more consistently. An Expert Advisor can process historical conditions faster than a person clicking through charts manually.
That does not mean an EA replaces thinking.
It means automation can support the testing process, especially when the trader already understands what needs to be tested.
How an NNFX EA Can Help Traders Evaluate System Components
An NNFX EA can be useful when it is designed to evaluate system components in a structured way.
For example, an EA may help test:
- Different baseline options
- C1 and C2 combinations
- Volume filter behavior
- Exit indicator responses
- ATR-based stop loss and take profit settings
- Timing rules such as the one-candle and seven-candle rules
This is especially relevant for traders who want to compare components without manually repeating the same process across many pairs and time periods.
Since an NNFX EA product is planned for release later this summer, the key positioning should be clear: the purpose of the tool is not to replace judgment or promise outcomes. Its purpose is to help traders evaluate components more efficiently and consistently.
That is an important difference.
A useful EA should make testing cleaner, not make unrealistic claims.
What an NNFX EA Can and Cannot Do
An NNFX EA can help with structure.
It can apply rules consistently. It can process historical data. It can reduce repetitive manual work. It can make component comparison easier.
But an EA cannot decide what a trader should believe without evidence.
It cannot turn a weak concept into a complete system. It cannot remove market uncertainty. It cannot guarantee that historical behavior will repeat. It cannot replace understanding the role of each component.
This is where beginners need to be careful.
Automation is often marketed as a shortcut. In a serious NNFX workflow, it should be treated as a testing assistant.
The trader still needs to understand:
- What each indicator does
- Why each rule exists
- What is being tested
- Whether the results are consistent enough to study further
- Where the system may be overfitted
The EA supports the process. It does not become the process.
Common Mistakes When Building an NNFX Trading System
The most common mistake is indicator stacking.
This happens when a trader keeps adding tools because the system does not feel “complete” yet. More indicators do not automatically create better structure. Sometimes they simply repeat the same information in different forms.
Another mistake is changing rules during testing. If a trader adjusts the rules every time a setup looks uncomfortable, the test becomes unreliable.
A third mistake is ignoring exits. Many beginners focus heavily on entries because entries feel more exciting. But exits are part of the system. Without defined exits, the testing process becomes incomplete.
Other common issues include:
- Using indicators without knowing their purpose
- Choosing components because they look good on a few recent examples
- Skipping separate component testing
- Ignoring low-activity market conditions
- Treating ATR as optional rather than part of standardization
- Expecting automation to fix unclear rules
A complete system should be boring in the best possible way. Clear rules, clear roles, clear testing. Not glamorous, but much easier to evaluate.
Key Takeaways: Building a Complete NNFX Trading System
An NNFX-style system is built around structure, not prediction.
The baseline defines direction. Confirmation indicators help identify stronger setups. The volume filter looks for acceptable market activity. The exit indicator defines when the original setup may no longer be valid. ATR helps standardize risk levels. Timing rules keep setups from being chased too late.
The most important point is that every component needs a reason to exist.
If a trader cannot explain what a component does, it probably should not be in the system yet.
Manual testing helps build understanding. EA-assisted testing can help improve consistency and speed once the rules are clear. An NNFX EA can be a valuable research tool, but it should never be presented as a replacement for system logic, backtesting, or realistic expectations.
A complete NNFX trading system is not about finding a magic indicator. It is about building a rules-based process where each component has a defined role and can be tested on its own before being trusted as part of the whole.